I don't think you have any idea how much I absolutely adore bread. Considering how much I hated sandwiches as a kid, this may shock some people. I guess at this point I'm making up for lost time, or something like that.
I will eat white sandwich bread if I have to, but given the choice I'll go for a heartier multi-grain or whole wheat option. Or better yet, sourdough (mmmm). Someday, I'll attempt that one.
When a recipe for classic white sandwich bread popped up in my Reader, I knew I'd have to try my hand at it. During my year in London I practically lived off of the honey wheat tin loaves, so I decided to try and replicate the dense, slightly-but-not-too-sweet loaf.
The dough came together allllmost as fast as the whole wheat pizza dough, with some extra time for rising. I also had to let it rise longer than the directions said to, because the whole wheat flour is a bit heavier than the white flour. Worth it!
Honey Whole Wheat Sandwich Bread (Adapted from TheKitchn's recipe linked above)
2 teaspoons active dry yeast
1 cup warm water
2 tablespoons unsalted butter
1 cup milk (any type will do - I used skim and it worked well)
1 tablespoon salt
1 tablespoon sugar
2 tablespoons honey
4 1/2-5 1/2 cups whole wheat flour
If using a stand mixer, start with the paddle attachment. Pour water into your mixer bowl and sprinkle yeast on top. Let it sit for about five minutes to let the yeast activate. Melt butter, and mix together with milk, sugar, salt and honey in a separate bowl or mixing cup. Add it to the mixer bowl. Stir 1 cup of flour into the bowl and mix until you have a lumpy, very loose, mixture. Switch to the dough hook. Add 3 1/2 cups of flour (saving the rest in case the dough is too sticky while kneading) to the bowl and mix on low until the dough is smooth and elastic, 8-10 minutes. If the dough really sticks to the bowl while kneading, add flour 1 tablespoon at a time until it's not sticky anymore. When the time is up, form the dough into a ball and place in a greased bowl. Let it rise for an hour in a warm place.
Once the hour is up, turn the dough onto the counter, separate into two pieces, form each into a ball and let rest for about 10 minutes. Grease two loaf tins and form each ball into a loaf (I followed these directions). Let the dough rise for another hour or so, or until it at least clears the top of the tin. Halfway through this stage, preheat your oven to 425*. When the dough has risen enough, turn the oven down to 375* and bake the loaves for 30-35 minutes (mine were in exactly 30). Turn the loaves onto a cooling rack and let them cool completely before slicing. Trust me on this one. If you slice too early you'll bring the bread with you as you move the knife down (think slicing soft cheese).
Showing posts with label whole wheat. Show all posts
Saturday, March 3, 2012
Monday, February 20, 2012
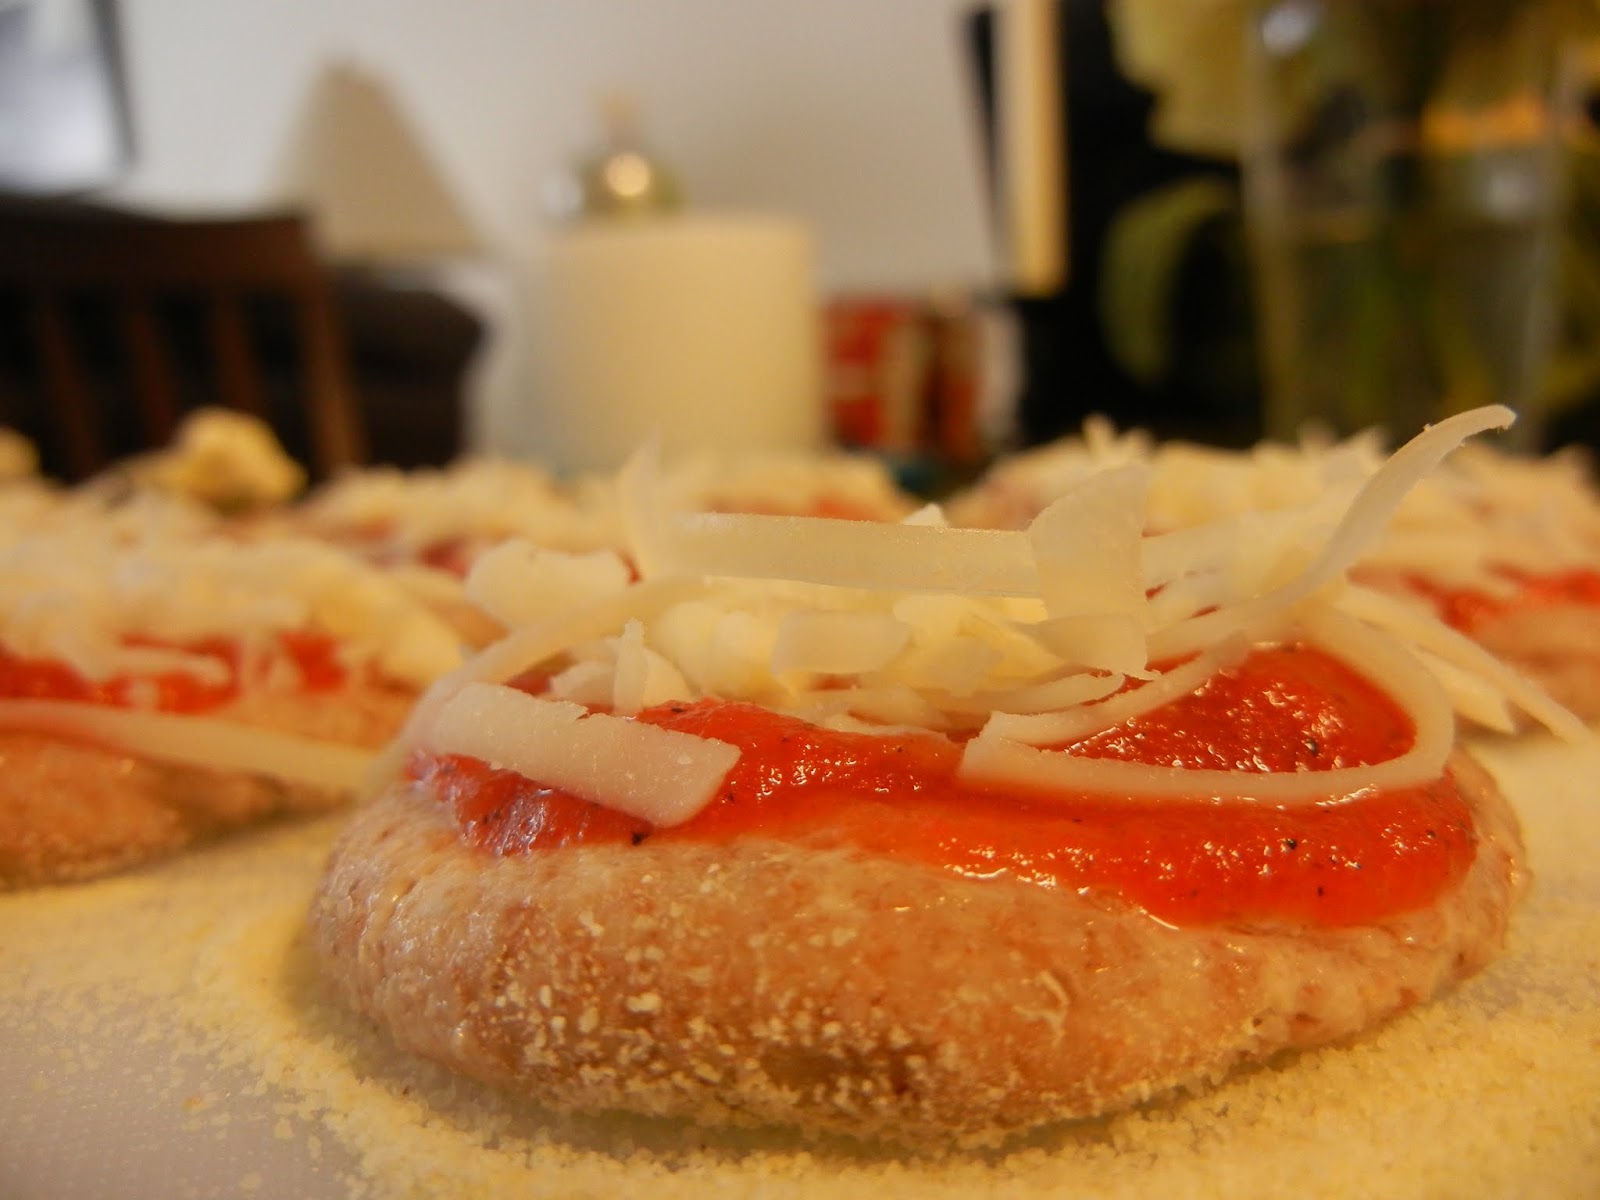
mini whole wheat pizzas
Saturday was a very, very busy day. Up at 7:30am, bed at some ungodly hour, kind of busy. As all we had planned for Sunday was the second installment of a Harry Potter marathon with the Boyfriend's mother, I figured I'd capitalise on what we like to call couch-ass-melding and make something to eat that was simple but delicious (duh, why would I make something that wasn't delicious?).
Enter: leftover pizza dough
Mini Whole Wheat Pizzas (Makes about 16)
1/3 batch whole wheat pizza dough
toppings of choice (I used pesto and cheese on half, and pureed canned diced tomatoes with cheese on the other half)
cornmeal for dusting
Preheat oven to 400*. If you have a pizza stone, put the stone in the oven while it preheats to bring the stone up to temperature. Cut the dough into pieces about 1/2oz each. Roll each into a ball and then flatten to form the base. Top with a small amount of sauce (think less than a teaspoon - you'll be surprised at how much it spreads!), then a sprinkle of cheese. Place the mini pizzas on the pizza stone (or a baking sheet if that's what you have - maybe put some parchment paper down first), and bake for about 8-10 minutes. The pizzas were done at 8, but I left them in a couple more minutes to get them a little extra crispier.
Sidenote: I wanted to test out how successfully this recipe froze and thawed, and am happy to report success! I pulled the dough out of the freezer on Saturday morning and let it thaw in the fridge all day, then took it out of the fridge and let it warm up for about an hour on Sunday before using. I couldn't even tell it had been frozen!
Enter: leftover pizza dough
I don't know about you, but when I'm watching a movie (or two, or three) I like to have bite-sized food available. None of this fork and knife nonsense. If it's not as easy to eat as popcorn (perhaps my first love; more on that later), I probably won't bother. Hence, mini pizzas!
Things in miniature are just so much fun, aren't they?
These were perfect for an afternoon of comparing the movies (and all the details they invariably left out) and the books (far superior, I don't care who you are). They were so good, in fact, I forgot how much I hated the 6th movie. This may also be due to the fact that I didn't reread the 6th book right before watching the movie. But that's neither here nor there.
1/3 batch whole wheat pizza dough
toppings of choice (I used pesto and cheese on half, and pureed canned diced tomatoes with cheese on the other half)
cornmeal for dusting
Preheat oven to 400*. If you have a pizza stone, put the stone in the oven while it preheats to bring the stone up to temperature. Cut the dough into pieces about 1/2oz each. Roll each into a ball and then flatten to form the base. Top with a small amount of sauce (think less than a teaspoon - you'll be surprised at how much it spreads!), then a sprinkle of cheese. Place the mini pizzas on the pizza stone (or a baking sheet if that's what you have - maybe put some parchment paper down first), and bake for about 8-10 minutes. The pizzas were done at 8, but I left them in a couple more minutes to get them a little extra crispier.
Sidenote: I wanted to test out how successfully this recipe froze and thawed, and am happy to report success! I pulled the dough out of the freezer on Saturday morning and let it thaw in the fridge all day, then took it out of the fridge and let it warm up for about an hour on Sunday before using. I couldn't even tell it had been frozen!
Wednesday, February 15, 2012
whole wheat pizza dough
I love pizza.
Like, I could probably eat it every day.
Which might be a problem. Do you have any idea what that would do to my waistline??
As a kid, my family would occasionally buy pre-made pizza dough (along with the fixin's) from the little Italian takeout place in town. Everything there was fantastic, and we always had a great time making the pizzas (and an even greater time eating them!). When the Boyfriend and I were trying to figure out what to do for Valentine's day, we decided making pizza would be a fun thing to do together. Someday, when we have a bigger kitchen, maybe we'll achieve more of a cooking together result, instead of me reading directions and him executing them. That's neither nor there, though.
I've never made pizza dough from scratch, and really wanted to give it a whirl. The first step to finding a good recipe is checking Pinterest. I mean really, what did we do before that? (Sidenote: I actually do have a whole collection of cookbooks and love them dearly, but this is a fantastically simple and quick way to find a recipe that other people have tried)
Other than holding onto my stand mixer for dear life while the dough kneaded (I love it like a baby, I know I have issues), the process went smoothly. According to readers of the blog I found this on, the finished product freezes well, too! We're trying that out with 1/3 of the dough right now. I'll report back later, if anyone cares. In the future I might put some wax paper or flour down on the bottom of the bowl because the dough stuck a little (very little, though. I'm just a perfectionist).
Whole Wheat Pizza Dough (adapted from Cooking for Seven)
1/2 cup warm water (too warm to drink, but not quite hot)
2 1/4 teaspoons instant yeast
1 1/4 cup room temperature water
2 tablespoons olive oil
4 cups (20oz by weight) white whole wheat flour
1 1/2 teaspoons sea salt
olive oil for coating bowl
flour or cornmeal for dusting
Pour warm water into a small bowl and stir in yeast. Let it sit for about 5 minutes, until the yeast begins to foam. In a separate bowl (I used a Pyrex measuring cup because it has a spout) combine the room temp water and olive oil. Stir the yeast/warm water into the room temp water/olive oil. Measure flour and salt into the mixer bowl (or a medium bowl if you're doing this by hand I suppose). When the liquid mix is ready, pour it slowly into the mixer bowl with the mixer on low (use the paddle attachment for this step). Mix until just incorporated. Let the dough rest for 5 minutes. Change out the paddle with the dough hook and knead the dough until it is smooth and elastic, about 5-10 minutes (we mixed for 8). If your mixer bowl moves a little during the process, don't freak out like I did! It will all be ok. While the dough is rising, preheat your oven to 400* (you know, if you plan on making pizza with the dough you're making). If you have a pizza stone, put it in the oven before it preheats so it can heat slowly with the oven.
Once the dough is done, transfer it to a greased medium-sized bowl, cover with a towel or plastic wrap, and let it rise in a warm place (I set it on top of my oven with the oven on) until it's doubled in size, about an hour to an hour and half (closer to an hour and a half). If you're making dough to freeze for later, this is where we part ways. Congrats! You have pizza dough. If you're making pizza, keep reading...
We split the dough into 3 pieces, but you could definitely make more. With 3 we got large thin crust pizzas. Roll out each piece of dough (or hand toss it like a bad-ass like I did. That restaurant experience came in handy! Can I put that on my resume?) on a floured (we actually used cornmeal - it doesn't burn as much in the oven and I like to think the grainy texture helps the dough not stick to surfaces even better) surface to whatever thickness you desire. If you have a large cutting board or a pizza peel, use that for your surface -it'll really help for the next step. Before adding toppings, wiggle the dough a little to make sure it's not sticking.
Add toppings (don't make it too heavy or the middle of the dough won't cook properly) and transfer to the pizza stone in the oven. This is the trickiest part. I kind of shimmied the pizza off the cutting board with a spatula (this is where a well-floured surface really comes in handy). If you're nervous about this step it might be easier to take the pizza stone out of the oven. Bake the pizza for 10-12 minutes, until the cheese is bubbly. Slice it up and enjoy! But try not to burn your mouth (as I inevitably do).
Need some topping suggestions?
My pizza (shown above) had a pesto base, topped with a four cheese blend, pieces of cambemzola (a camembert-gorgonzola blend), slices of marinated fresh mozzarella, and prosciutto (all from Trader Joe's). I added the prosciutto to the pizza in the last two minutes of baking, so it didn't overcook.
The Boyfriend's pizza had red sauce (we just pureed a can of diced canned tomatoes), the four cheese blend and slices of salami.
Subscribe to:
Posts (Atom)