I would have called them mozzarella sticks, but to me that implies breading. And deep frying. And so much deliciousness.
These are baked though, and remind me more (in structure, at least) of a local Lebanese restaurant's version of mozzarella sticks, which they wrapped in phyllo and called cigars. So, I'm going with it.
Since it's St Patrick's Day and all, I figured I should post something green. This isn't remotely Irish, and there's a possibility I realized the dip was green after the fact, but that's neither here nor there. The dip is very similar to one I had at this awesome hole-in-the-wall restaurant (seriously guys, it's attached to a motel. Oh and they take reservations, but they won't ask you about it when you walk in. Just sit anywhere you'd like). If you live nearby, you absolutely need to go. Order the tequeñones (their cheese sticks). Maybe some fried yucca, while you're at it. And definitely go for a grilled arepa.
If you don't live nearby, or really like cheese (or both), make these. They should hold you over for a bit.
Baked Mozzarella Cigars with Jalapeño Cilantro Aioli
1/2 package won ton wrappers
2 mozzarella sticks
Preheat oven to 375*. Lay out wrappers on a flat surface. Slice mozzarella sticks in half lengthwise, and then cut into pieces about 1/4" shorter than the won ton wrappers on each side, leaving room to fold the wrappers over. Fold the sides over the cheese, then roll from the bottom up (like a burrito), securing the roll with a little water brushed across the top side. Place on a baking sheet, preferably on parchment paper or silpat, bake about 15 minutes or until golden.
For the Sauce
1/3 cup mayonnaise
1/4 cup cilantro
1/2 jalapeño
1-2 cloves garlic
1 tablespoon olive oil
Toss all ingredients into a food processor and blend until smooth. Try not to eat all of it before the cheese sticks are done.
It's Recipe Madness! Check out these blogs for more daily food updates all this month!
The Cheesefries Stand Alone
Food Feminism Life
Life's Little Epiphanies
And if you want to play along, just leave a comment!
Showing posts with label appetizer. Show all posts
Saturday, March 17, 2012
Thursday, March 8, 2012
classic hummus
Hummus is one of the best things, ever. I'm not even sure what else I can say, other than go make some right now.
And maybe (just maybe) add a little buffalo sauce to it.
Classic Hummus
**this is something best made with the taste-as-you-go approach. A lot of the seasonings are strong in flavor, so start with a smaller amount if you're unsure and work your way up**
1 large can chickpeas, drained and rinsed
1-2 cloves garlic
1/4 cup olive oil
2-3 tablespoons tahini
1/4 teaspoon paprika
1/4 teaspoon chili powder
1/2 lemon's juice
salt to taste
Throw everything into a food processor and blend until smooth. Serve with veggies and/or pita chips and/or a spoon. Ta da!
(If things aren't mixing as easily as you'd like, try adding a little more olive oil. Sometimes the processor just needs a little more liquid to move everything around)
Check out the other fabulous bloggers participating in recipe madness!
The Cheesefries Stand Alone
Food Feminism Life
Kelly's Stellar Kitchen
Saturday, March 3, 2012
vegetarian crab rangoon
There's this bubble tea place in College Park called Ten Ren Tea, where my friends and I liked to frequent for bubble tea. We enjoyed drinking this refreshing iced tea, but more so I think we got a kick out of shooting the tapioca bubbles at each other through the massive straws in the drinks.
One day, we figured out that they actually served food, too. Go figure!
Five years later, Katherine and I still venture out there occasionally for an order of fried rice and their vegetarian crab rangoon-type won tons (and bubble tea, of course). These won tons are pretty addictive, and I'm not entirely sure why it took me so long to attempt making them myself. The filling is a sweetened ricotta/cream cheese mix, which is burn-your-tongue-on-the-first-bite-but-do-it-anyway goodness. These little things are perfect finger food for a party, or you know, a meal when served in mass (I'm sensing a pattern). They're also super easy, which earns them bonus points!
Vegetarian Crab Rangoons
1/4 cup cream cheese
1/4 cup ricotta
1-2 tablespoons sugar
won ton wrappers
Preheat oven to 350*. Mix the cheeses and sugar in a bowl until smooth. It should be a little sweet, but not overwhelmingly so. Place won ton wrappers on a flat surface and drop about a teaspoon of mix into the middle of each one (the number of wrappers you'll need will vary based on how much mix you use, but I think I used about half a pack). Fold up the corners and press together to create little purses. Place on a parchment paper lined baking sheet, and bake for about 15-17 minutes or until they turn golden brown. The bottoms will be a little soft, which I didn't mind. If you want them to be a bit crispier you could either spray with cooking spray before baking, or fry these suckers. I was just trying to be a little healthier but I'm sure they'd be fantastic!
Check out the other fabulous bloggers participating in recipe madness!
The Cheesefries Stand Alone
Food Feminism Life
Kelly's Stellar Kitchen
If you'd like to join in, just leave a comment!
One day, we figured out that they actually served food, too. Go figure!
Five years later, Katherine and I still venture out there occasionally for an order of fried rice and their vegetarian crab rangoon-type won tons (and bubble tea, of course). These won tons are pretty addictive, and I'm not entirely sure why it took me so long to attempt making them myself. The filling is a sweetened ricotta/cream cheese mix, which is burn-your-tongue-on-the-first-bite-but-do-it-anyway goodness. These little things are perfect finger food for a party, or you know, a meal when served in mass (I'm sensing a pattern). They're also super easy, which earns them bonus points!
Vegetarian Crab Rangoons
1/4 cup cream cheese
1/4 cup ricotta
1-2 tablespoons sugar
won ton wrappers
Preheat oven to 350*. Mix the cheeses and sugar in a bowl until smooth. It should be a little sweet, but not overwhelmingly so. Place won ton wrappers on a flat surface and drop about a teaspoon of mix into the middle of each one (the number of wrappers you'll need will vary based on how much mix you use, but I think I used about half a pack). Fold up the corners and press together to create little purses. Place on a parchment paper lined baking sheet, and bake for about 15-17 minutes or until they turn golden brown. The bottoms will be a little soft, which I didn't mind. If you want them to be a bit crispier you could either spray with cooking spray before baking, or fry these suckers. I was just trying to be a little healthier but I'm sure they'd be fantastic!
Check out the other fabulous bloggers participating in recipe madness!
The Cheesefries Stand Alone
Food Feminism Life
Kelly's Stellar Kitchen
If you'd like to join in, just leave a comment!
Monday, February 20, 2012
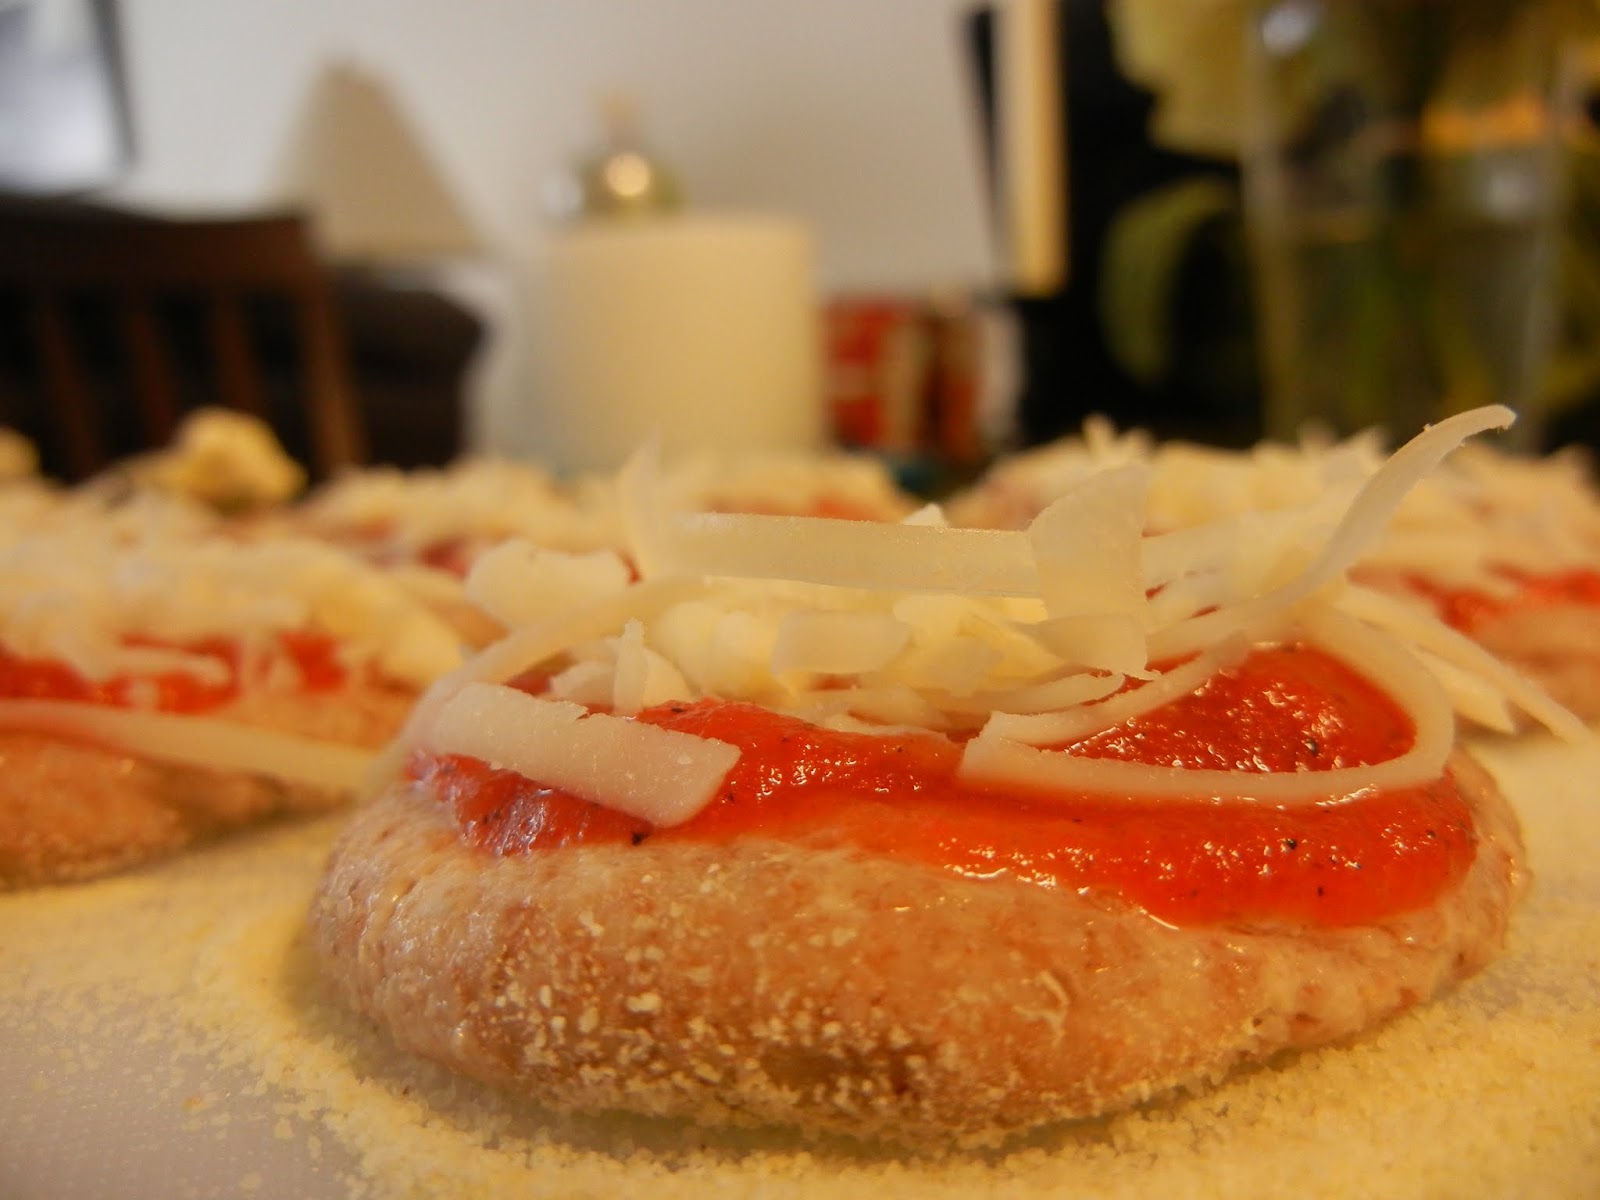
mini whole wheat pizzas
Saturday was a very, very busy day. Up at 7:30am, bed at some ungodly hour, kind of busy. As all we had planned for Sunday was the second installment of a Harry Potter marathon with the Boyfriend's mother, I figured I'd capitalise on what we like to call couch-ass-melding and make something to eat that was simple but delicious (duh, why would I make something that wasn't delicious?).
Enter: leftover pizza dough
Mini Whole Wheat Pizzas (Makes about 16)
1/3 batch whole wheat pizza dough
toppings of choice (I used pesto and cheese on half, and pureed canned diced tomatoes with cheese on the other half)
cornmeal for dusting
Preheat oven to 400*. If you have a pizza stone, put the stone in the oven while it preheats to bring the stone up to temperature. Cut the dough into pieces about 1/2oz each. Roll each into a ball and then flatten to form the base. Top with a small amount of sauce (think less than a teaspoon - you'll be surprised at how much it spreads!), then a sprinkle of cheese. Place the mini pizzas on the pizza stone (or a baking sheet if that's what you have - maybe put some parchment paper down first), and bake for about 8-10 minutes. The pizzas were done at 8, but I left them in a couple more minutes to get them a little extra crispier.
Sidenote: I wanted to test out how successfully this recipe froze and thawed, and am happy to report success! I pulled the dough out of the freezer on Saturday morning and let it thaw in the fridge all day, then took it out of the fridge and let it warm up for about an hour on Sunday before using. I couldn't even tell it had been frozen!
Enter: leftover pizza dough
I don't know about you, but when I'm watching a movie (or two, or three) I like to have bite-sized food available. None of this fork and knife nonsense. If it's not as easy to eat as popcorn (perhaps my first love; more on that later), I probably won't bother. Hence, mini pizzas!
Things in miniature are just so much fun, aren't they?
These were perfect for an afternoon of comparing the movies (and all the details they invariably left out) and the books (far superior, I don't care who you are). They were so good, in fact, I forgot how much I hated the 6th movie. This may also be due to the fact that I didn't reread the 6th book right before watching the movie. But that's neither here nor there.
1/3 batch whole wheat pizza dough
toppings of choice (I used pesto and cheese on half, and pureed canned diced tomatoes with cheese on the other half)
cornmeal for dusting
Preheat oven to 400*. If you have a pizza stone, put the stone in the oven while it preheats to bring the stone up to temperature. Cut the dough into pieces about 1/2oz each. Roll each into a ball and then flatten to form the base. Top with a small amount of sauce (think less than a teaspoon - you'll be surprised at how much it spreads!), then a sprinkle of cheese. Place the mini pizzas on the pizza stone (or a baking sheet if that's what you have - maybe put some parchment paper down first), and bake for about 8-10 minutes. The pizzas were done at 8, but I left them in a couple more minutes to get them a little extra crispier.
Sidenote: I wanted to test out how successfully this recipe froze and thawed, and am happy to report success! I pulled the dough out of the freezer on Saturday morning and let it thaw in the fridge all day, then took it out of the fridge and let it warm up for about an hour on Sunday before using. I couldn't even tell it had been frozen!
Subscribe to:
Posts (Atom)